Jump to the content of the page

Laser extensometers

Optical strain measurement at high temperatures

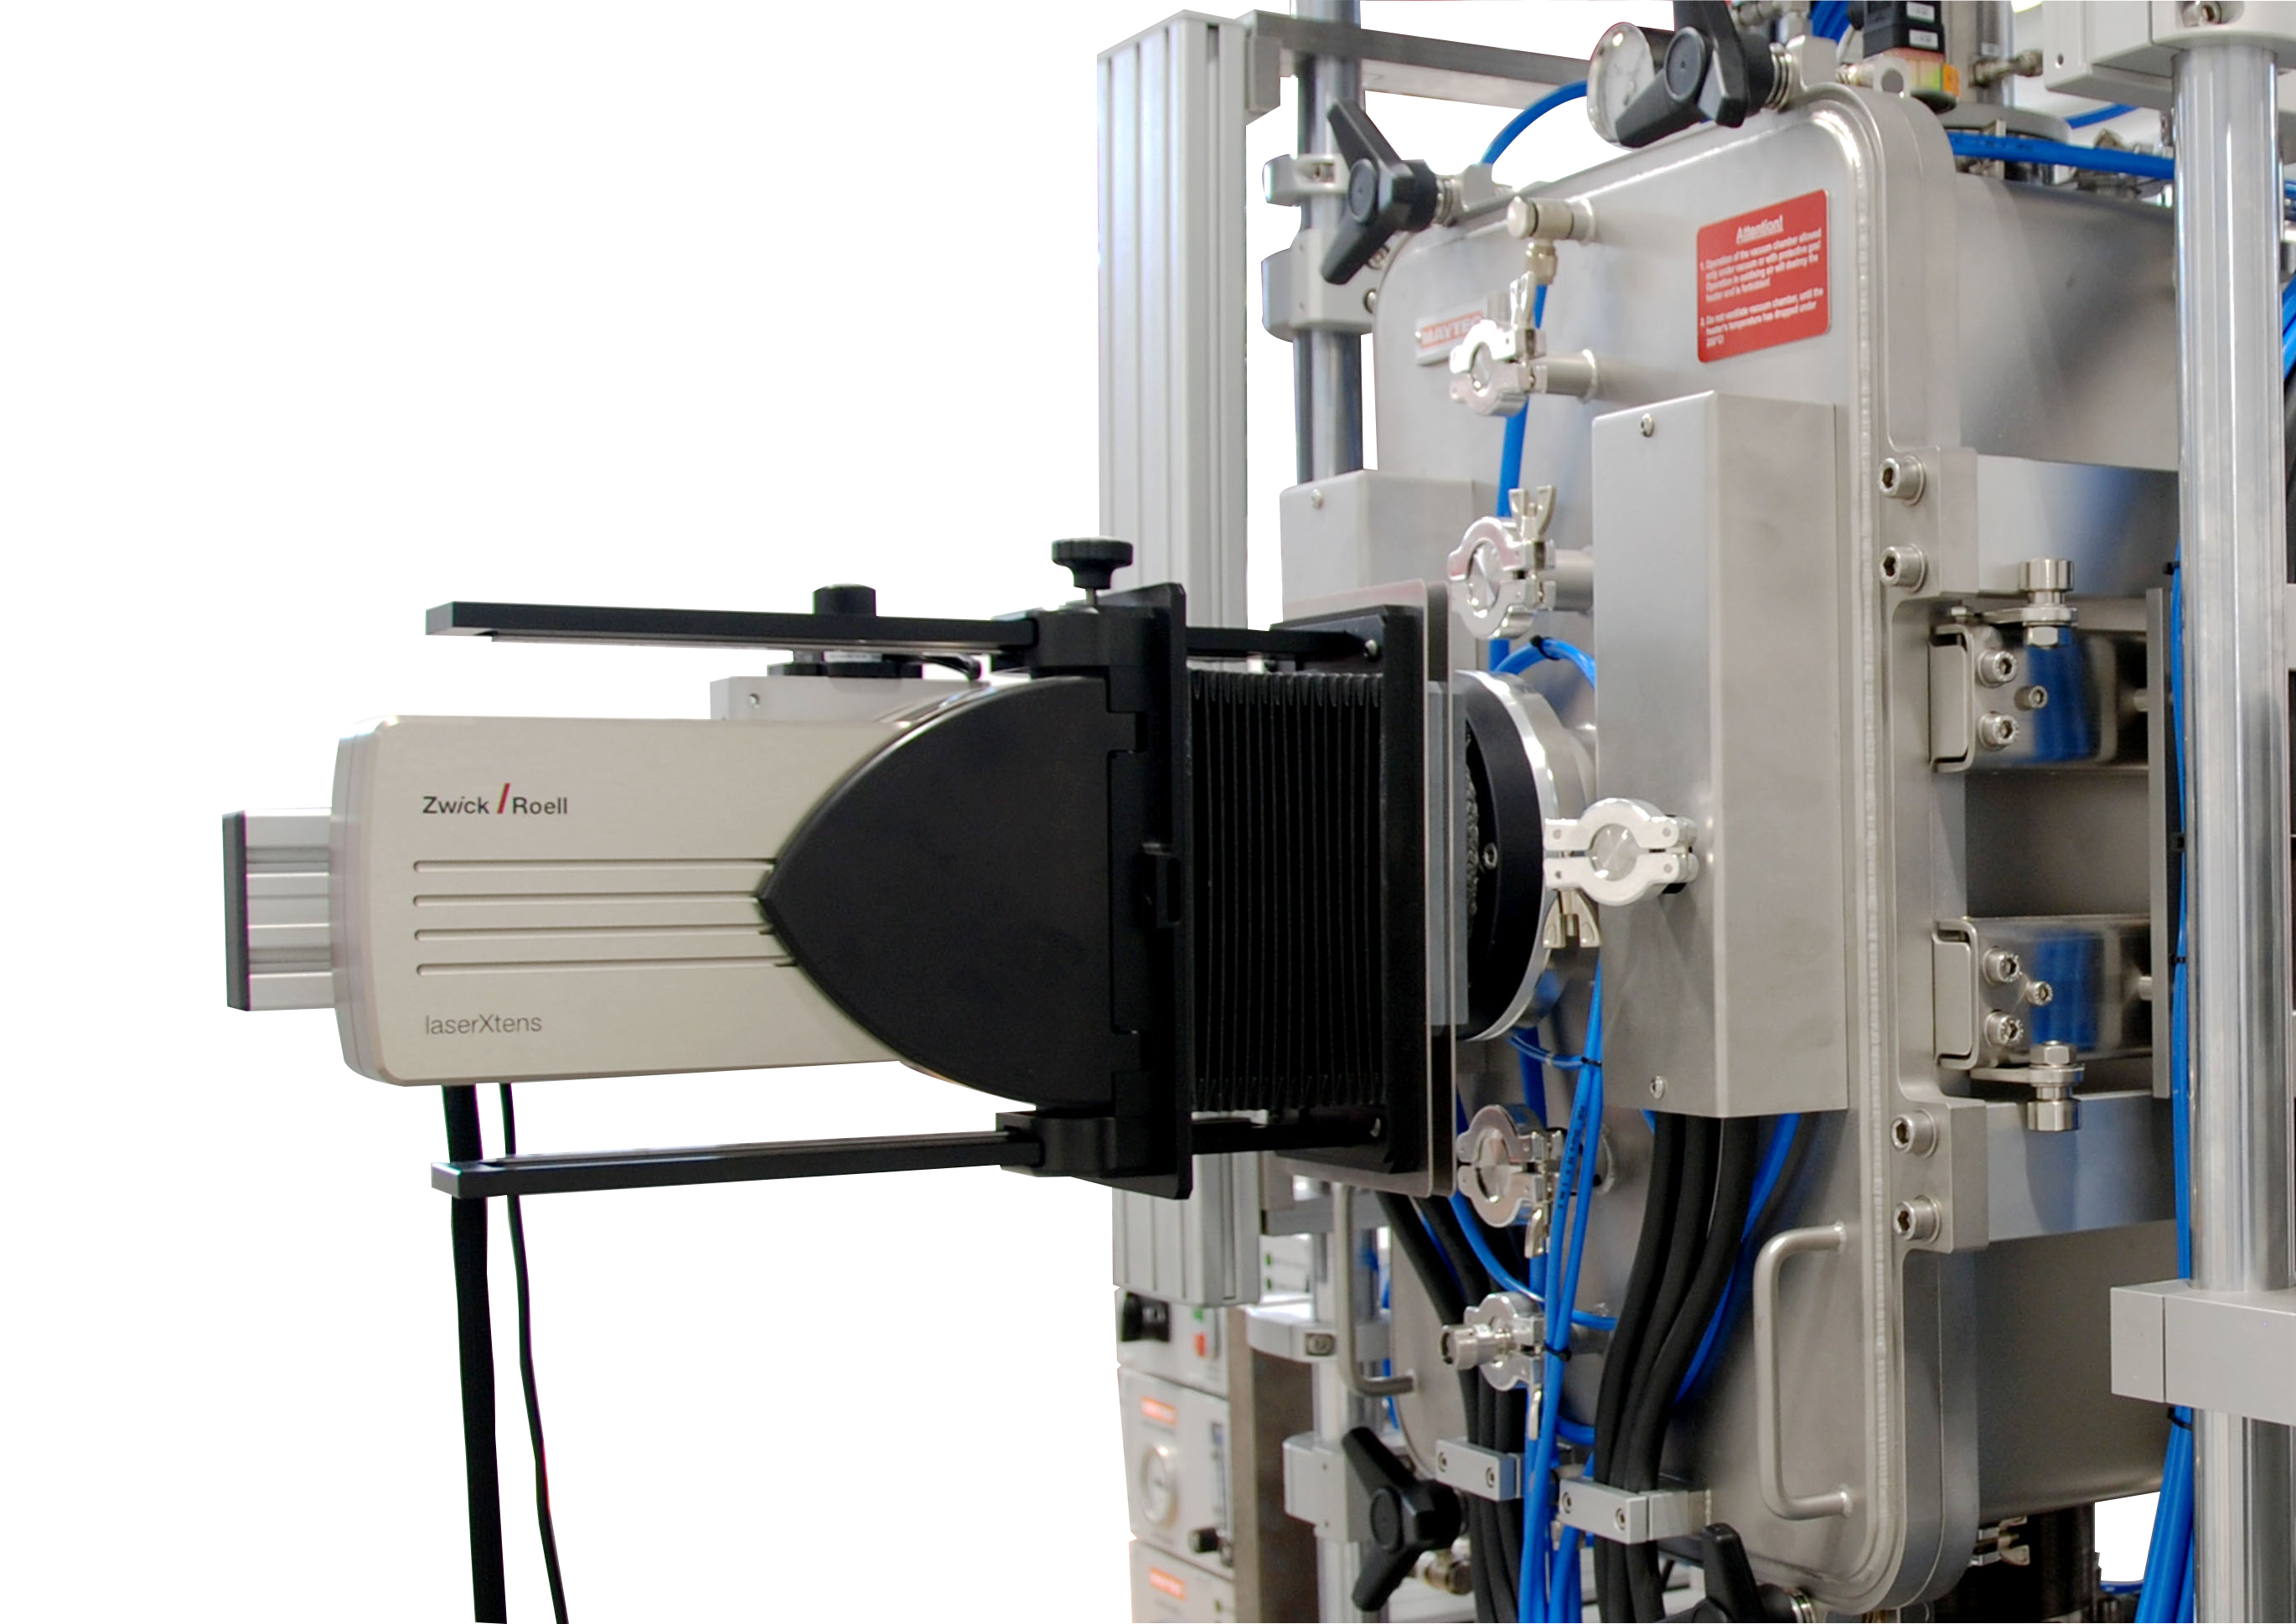
Non-contact and precise measurement without gauge marks at ultra-high temperatures up to +2,000 °C? Not a problem with the laser extensometer. The laserXtens is ideal for optical / non-contact strain measurement on different materials, in different environmental conditions and in a wide temperature range from -80 °C to +2,000 °C. Due to the measuring principle, it is not necessary to apply measuring marks, which saves time and money.

Advantages laserXtens selection VIDEO Downloads Advanced functionality Request a consultation

The advantages of laser extensometers

  • Ideal for changing temperature ranges and ambient conditions (air, vacuum, inert gas, etc.)
  • Universally applicable for various materials: metals, refractory materials, ceramics, graphite, glass
  • Wide variety of specimen shapes and sizes including sensitive specimens and mini specimens from 1.5 mm
  • Non-contact strain measurement: no influence on the specimen, maintenance-free
  • No specimen marking: Cost and time savings
  • High accuracy and precision in the micro and macro measurement range
  • Compensation of lateral specimen movements (out-of-plane)
  • Compliance with all standard requirements in high-temperature testing, e.g. ISO 6892-2, ASTM E21, DIN EN 2002-002

Optical strain measurement at high temperatures - how it works

The laser extensometer illuminates the specimen with green or blue laser light (depending on the temperature range), creating a speckle pattern on the specimen surface. Lenses with special filters allow only the desired laser light to pass through, blocking the interfering red light from the glowing or hot specimen. This makes it possible to measure the change in length even at very high temperatures.

The specimen surface with the speckle patterns is captured with one or two cameras. Two evaluation fields are set within the camera image (field of view) and thereby two sub-patterns are defined and tracked. The displacement of each speckle pattern is calculated using a highly advanced correlation algorithm. The elongation of the specimen is calculated from the difference of these displacement measurements.

Measure without marking and without influence on the specimen

Thanks to its unique technology, the laser extensometer does not require specimen marking. Applying measurement marks in temperature chambers, high-temperature ovens or even vacuum chambers would be very difficult anyway due to the ambient conditions and high temperatures. This effort is eliminated when using thlaserXtens, saving time and cost, especially with high specimen throughputs.

Due to the non-contact strain measurement, the laserXtens has no mechanical contact with the specimen and does not influence it with the laser light. This advantage is particularly beneficial for sensitive specimens and high temperatures. The optimally matched high-temperature components, such as laserXtens, temperature control unit, specimen temperature measurement, etc., guarantee reliable test results even under difficult ambient conditions. High-temperature furnaces, vacuum chambers and temperature chambers can remain closed during the entire test. The laser extensometer measures the specimen strain from the outside via an furnace port or through a glass window.

Compensation of lateral specimen movements (out-of-plane)

Many test setups specifically for high-temperature testing allow the specimen to align itself at the start of the test. This movement into the center of the test axis can be towards or away from the camera. This is especially common with small specimens. A change in the specimen distance to the camera does however, in a trapezoidal field of view, result in an magnification/demagnification of the specimen, whereby the test results are influenced. The telecentric lens of the laserXtens compensates for these lateral specimen movements and minimizes measurement error.

Increased measuring path and measuring accuracy

Automatic centering increases the measuring path and measuring accuracy of the laserXtens. With the connection to the crosshead, the extensometer is moved at half crosshead speed and the measuring range is optimally utilized.

See it in action: the laser extensometer at high temperatures

The laserXtens 2-120 HP/TZ is ideally suited for strain rate controlled tensile tests on metal to ISO 6892-2 Method A1.

Laser extensometer for high-temperature testing
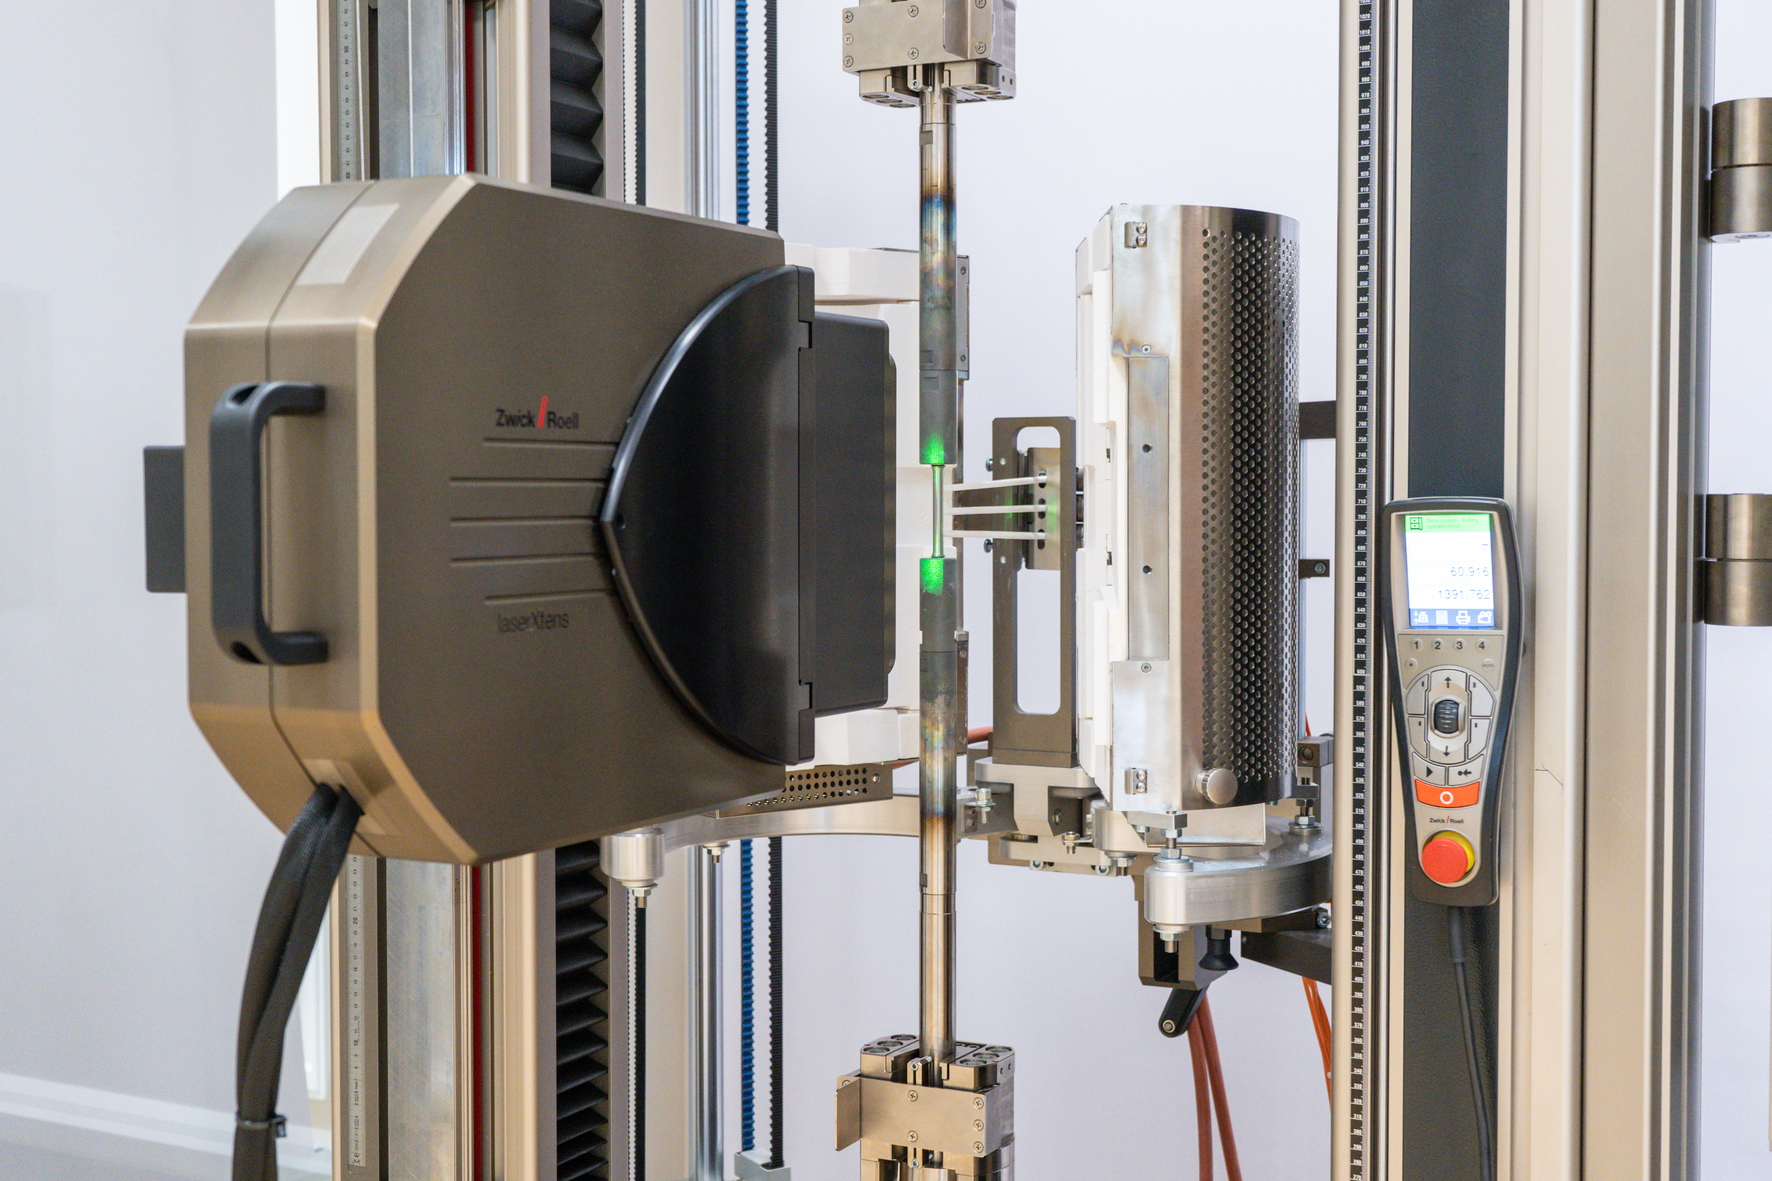
laserXtens 2-120 HP/TZ
The laser extensometer for all specimens

laserXtens 1-32 HP/TZ
The laser extensometer for mini specimens and ultra-high temperatures

Temperature range-80°C to +1,600°C-80°C to +2,000°C
Temperature control
  • Without temperature control for room temperature tests
  • Temperature chamber
  • High-temperature furnace
  • Induction heating system
  • Without temperature control for room temperature tests
  • Temperature chamber
  • High-temperature furnace
  • Induction heating system
  • Vacuum and inert gas chambers
Typical applications
  • Strain rate controlled tests,
    tensile, compression, and flexure tests
  • metals, refractory materials, ceramics, graphite, glass
  • Strain rate controlled tests,
    tensile, compression, and flexure tests
  • metals, refractory materials, ceramics, graphite, glass
Typical standards
  • ISO 6892-1 method A1 closed loop
  • ISO 6892-2 method A1 closed loop
  • ASTM E21
  • EN 2002-002
  • ISO 6892-1 method A1 closed loop
  • ISO 6892-2 method A1 closed loop
  • ASTM E21
  • EN 2002-002
Number of cameras21
Measurement rangemax. 120 mmmax. 32 mm
Accuracy class
to EN ISO 9513
0.50.5
Laser lightGreenGreen and blue

Would you like to learn more about our laser extensometers for high-temperature testing?

We look forward to answering your questions!

Request a consultation

Laser extensometer advanced functionality

The range of applications of the laser extensometer can be expanded with various advanced functionality options. With the various functions such as strain distribution, change in width, test re-run, etc., you can get even more out of your strain measurement.

Strain distribution: every specimen counts

A break outside the gauge length causes costs and additional time for specimen preparation and retesting. This can be prevented with the strain distribution option.

During the test, the testing software automatically places the gauge length symmetrically around the break point.

The workaround offered by ISO 6892-1 in Annex I to validate breaks outside the gauge length is also activated effortlessly by our software; calculation and validation according to standard specifications run automatically and in real time. No need to manually measure and recalculate the specimen as was the case before.

Test Re-Run: re-calculate instead of re-testing

The test re-run function can be used to virtually repeat and recalculate the test with a modified initial gauge length. You save time on specimen preparation and testing and can run different evaluations on one and the same specimen.

During the test, the testing software records the image series. You can later use these to change the size and position of the initial gauge length as required. One click starts the recalculation and all characteristic values are recalculated on the basis of the new gauge length. Each recalculation is displayed separately, making comparisons simple and clear.

2D dot matrix

This option supports two-dimensional measurement of points that are selected with an evaluation field as partial patterns from the overall pattern generated by laser light. By measuring the displacement between the fields, it is possible to determine local strains and inhomogeneities of the specimen under load. X and Y coordinates as well as the distances between dots are available as measured values.

Up to 100 measurement dots can be measured in any desired arrangement or in matrix form. Display in testXpert III is limited to 15 channels.

This option uses only one camera for measurement; any other cameras present are switched off beforehand.

Measurement of the change in width / transverse strain

With this option, biaxial measurements can be performed: In addition to the longitudinal strain, transverse strains can also be recorded—for example the change in width. Alternatively, change in width can naturally be measured alone.

Two versions are available for measurement of transverse strain:

  • Direct measurement on the specimen edge without additional markings (required for the determination of the r-value). For this version a backlight is required.
  • Local measurement on the specimen surface via pattern recognition

Deflection measurement

The laser extensometer can also be used for flexure tests. There are several options for measuring specimen deflection, depending on the type of test and the specimen condition and properties:

  • Measurement with laser light on the specimen (pattern recognition)
  • Measurement of deflection in the test axis
Laser extensometer related products

Advantages and features

Testing without specimen marking
Simple operation
High accuracy
Automatic centering

Testing without specimen marking

Testing without specimen markings

  • laserXtens' unique technology eliminates the need for specimen marking.
  • which provides significant cost and time savings, especially in the case of high specimen throughput.
  • The advantage is particularly significant with options that record several measuring points or entire specimen areas.
  • Easy to use in temperature chambers, where it can be very difficult to apply gauge marks due to ambient conditions.
  • Ideal for use with automated systems, since manual specimen preparation is not required.

Simple operation

Simple operation

  • Tamper-proof: The enclosures of the complete systems are sealed with screw locking varnish; nothing can be adjusted on the lenses. This is an important requirement for reliable test results.
  • Simple alignment to the specimen: Through the connection to the crosshead, the laserXtens is aligned centrally to the gauge marks. This is done quickly by simply adjusting the height (not for laserXtens 1-15 HP).
  • Compensation of various specimen thicknesses and testing of shear specimens.
  • Wear-free system, and as a result also low-maintenance. The systems have an extremely long service life.

High accuracy

Highly accurate, down to every detail

  • The laserXtens features high precision in the micro and macro measurement ranges.
  • ZwickRoell extensometers exceed the requirements of the standards and are calibrated over the entire measurement range to ISO 9513, in accuracy class 0.5.
  • Calibration in accuracy class 0.5 according to ISO 9513 with the first calibration point as low as 20 μm.
  • Industrial-quality cameras and high-quality, low-distortion lenses.
  • Specimens can be tested starting at 1 mm width/diameter. After pretesting, possibly even smaller specimens can be tested.
  • In contrast to sensor arm extensometers or pure video solutions, laserXtens can also measure strain on short specimens (gauge lengths from 3mm) with high accuracy.
  • Attachment of the laserXtens with low-vibration, stable support brackets.
  • Housing provides protection against dirt and dust and inadvertent misalignment of the components.
  • Exact synchronization of all measurement channels.
  • A tunnel minimizes environmental influences, such as air turbulence

Automatic centering

Automatic centering increases measurement travel and measuring accuracy

  • The laserXtens tracks at half crosshead speed via the connection to the crosshead, keeping the testing operation automatically in focus and making optimum use of the measuring range.
  • This results in increased system accuracy, as the gauge marks shift less in the image and are captured in the (more accurate) center of the lens.

Software options

Test re-run
Strain distribution
Video Capturing
2D dot matrix
Second measurement axis option
Deflection measurement

Test re-run

The optional Test Re-Run module enables subsequent recalculation of strain using an image series recorded during a test but employing a different initial gauge length (provided multiple marks are present). This can be particularly advantageous in component testing, for example, when it is necessary to evaluate local strain at different locations, or in standard tensile tests when specimen necking has occurred outside the original initial gauge length.

The recalculated strain can, of course, be synchronized subsequently with the other measurement values via the testXpert testing software.

Strain distribution

The Strain Distribution option enables determination of local strains at multiple measuring locations along the specimen gauge length. These are available as channels in testXpert. Up to 16 measuring locations are automatically recognized and evaluated during the test. This option also allows automatic real-time symmetrical adjustment of the initial gauge length around the necking (as per ISO 6892-1, Annex I).

Video Capturing

the Video Capturing feature is a recording of the test (without subsequent recalculation). The recording is synchronized with the measured curve, enabling the test to be viewed retrospectively. The option does not include hardware, as recording and synchronization take place entirely via the videoXtens system.

2D dot matrix

This option allows two-dimensional measurement of dots applied to a planar specimen surface. This enables determination of local strains and specimen inhomogeneities under load. X and Y coordinates as well as the distances between dots are available as measured values.

Up to 64 measurement dots can be measured in any desired arrangement or in matrix form. Display in testXpert III is limited to 15 channels.

This option uses only one camera for measurement; any other cameras present are switched off beforehand.

Second measurement axis option

With this option, biaxial measurements can be performed: In addition to the longitudinal strain, transverse strains can also be recorded—for example the change in width. Alternatively, change in width can naturally be measured alone.

Two versions are available for measurement of transverse strain:

  • Direct measurement on the specimen edge without additional markings (required for the determination of the r-value). For this version a backlight is required.
  • Measurement of the specimen surface with dot markings or sprayed-on pattern. For this version the specimen is illuminated with an incident light lamp.

Deflection measurement

videoXtens can also be used for flexure tests. There are several options for measuring specimen deflection, depending on the type of test and the specimen condition and properties:

  • measurement using incident light via marks on the specimen
  • measurement using backlight on the specimen lower edge
  • measurement of deflection in the test axis or of the polynomial approximation of the curve.

Maximum deflection that can be measured: with videoXtens the maximum deflection corresponds to the FOV; with videoXtens Array to 1/3 of the total FOV (in this case deflection is measured with one camera only).

Name Type Size Download
  • Product information: laserXtens 2-120 HP/TZ PDF 2 MB
  • Product information: laserXtens 1-32 HP/TZ PDF 2 MB
Top