Special Solutions for Research and Development
Along with customized solutions developed by ZwickRoell in cooperation with various institutes, ZwickRoell also offers many standard solutions specific to applications in research. For scientists, a key concern is the flexibility of a material testing machine. They encounter new testing requirements on a regular basis, and these requirements need to be met using their existing machinery, if possible.
System interfaces are of particular importance. On the one hand, new sensors are often used, which must be recorded together with the machine's measurement-signals. On the other hand, it must be possible to easily process the recorded data. This can be achieved directly in testXpert III or by exporting the data to an external evaluation software.
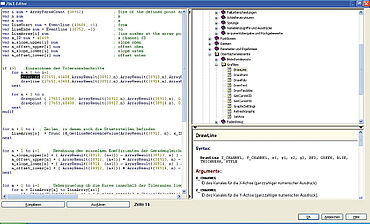
ZIMT
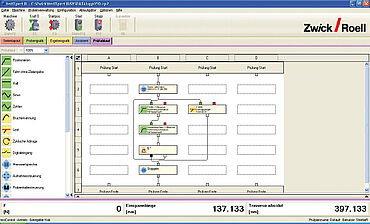
Graphical Sequence Editor
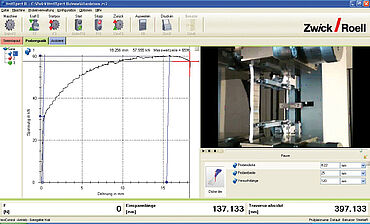
Synchronized video recording
3. High-temperature tests
A key approach in reducing CO2 emissions is improving the efficiency of thermal engines. To achieve this, the combustion chamber temperature must increase, which requires new materials and requirements for high temperatures.
When developing new power plant technologies—from A-USC (Advanced Ultrasupercritical) power plants to new nuclear reactors—a clear understanding of high temperature characteristics is essential. This trend means that more and more tests are performed at high temperatures. Common standards for high-temperature testing are ISO 6892-2 and ASTM E21.
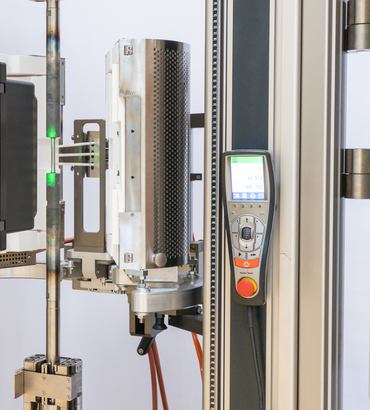
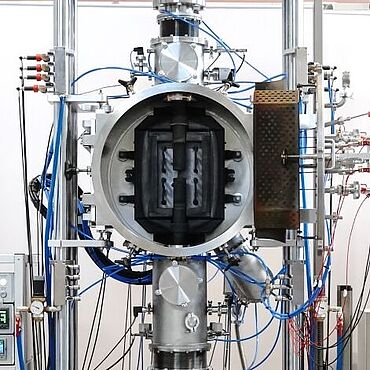
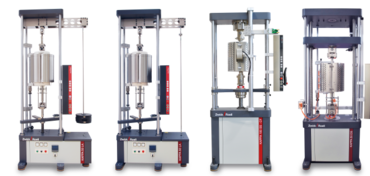
At ZwickRoell, we have a dedicated competence center that handles these requirements. Typically, the test temperatures go up to 1,200 °C and beyond under vacuum or inert gas atmosphere. One challenge in performing high temperature tests is measuring the deformation/strain directly.
For years, ZwickRoell has relied on its laserXtens extensometer, optimized for high temperatures. It can measure the specimen's strain in the high temperature furnace through a window without contact.
4. Creep tests and cyclical characteristics
Along with purely high temperature characteristics, other mechanical characteristics, which must also be determined under high temperatures, are also important in power plant technology. In addition to high temperature resistance, the modified operation mode of many power plants caused by a fluctuating supply from wind and solar power plants is a factor, placing special requirements on materials.
Many power plants must be able to be started up and shut down again in a flexible way, and in short intervals. This leads to material thermo-mechanical fatigue (TMF), where the material expands thermally with every start up and shut down. Most power plants of the 20th century were not designed for such stresses and must be recalculated and converted accordingly in retrospect.
Another issue for all steam power plants, but specifically for A-USC power plants operated at temperatures up to 760 °C and vapor pressures up to 380 bar, is material corrosion. The way in which the materials react (relaxation or retardation) is observed at a constant strain or stress over a longer period of time at elevated temperatures. This is also done cyclically (creep fatigue).
5. Low cycle fatigue (LCF tests)
During a low cycle fatigue test, the material is cyclically loaded at a specific temperature (usually a heightened temperature) until it reaches minimal plastic deformation. The specimen (material) withstands only a few thousand load changes under this kind of load. During this process, the demands placed on the testing machine or the machine controller are particularly high, because during the transition from elastic to plastic deformation, the specimen's stiffness dramatically changes and therefore the controller must respond very quickly to guarantee a constant rate of strain increase.
6. Thermo-mechanical fatigue (TMF)
Thermomechanical fatigue to ASTM E2368 and ISO 12111 (TMF) is the simulation of the mechanical load as a result of the thermal expansion of the material. It occurs every time a power plant (but also any thermal engine) is started up or shut down. During startup, the temperature of all components rises from room temperature to operating temperature, which is accompanied by an expansion of the material. This expansion creates a stress in the material, which must be determined with accuracy to prevent component damage.
Thermo-mechanical fatigue involves heating a specimen cyclically; the testing machine superimposes a mechanical strain in the same or inverse phase.
7. High cycle fatigue (HCF)
In contrast to an LCF test, the load change is driven only in the linear-elastic range of the material in a high cycle fatigue test. One key application is the determination of the fatigue limit of a material or component. The fatigue limit is usually determined using a Woehler curve (s/n curve), where various stress and strain amplitudes are applied to the specimen until it fails. The Woehler curve is determined using constant amplitudes; the Gassner curve is determined using variable amplitudes.
These characteristic curves are also determined at various temperatures.
8. Instrumented hardness ranges from nano to macro
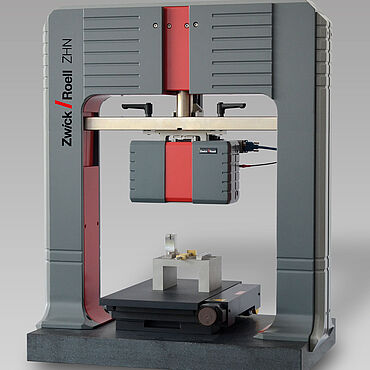
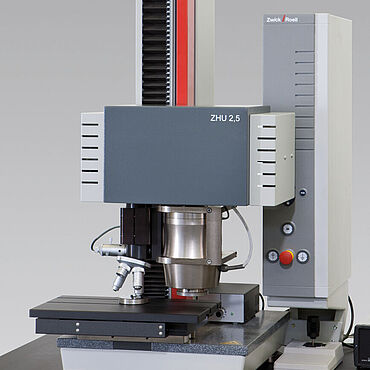
Instrumented indentation depth measurement has been used in research for many years. It is used to determine the mechanical characteristics of very thin layers or coatings. A force indentation depth measurement can determine the hardness (Martens) and the elastic and plastic characteristics.
As a rule of thumb for determining the coating properties, the indenter (Vickers or Berkowitch) may not penetrate more than 10% of the coating thickness. The ZwickRoell UNAT system can be used for indentation depths between 10 nm and 30 µm, and the ZHU/Zwicki System for indentation depths above 6 µm. This means ZwickRoell has a solution for all nano, micro, and macro hardness ranges.
